This is a promised post, I had been waiting in the hopes we would get the trim bought and put in but since it's already been a month and that hasn't happened.. we'll just consider that another "stage" and at least show you the tile.
My brother Daniel laid the tile over the course of four days. It was inconvenient, living without a kitchen and with tile and grout dust being tracked everywhere, but oh so worth it.
 |
| these two pictures are from when we bought the house, just trying to show you how nasty the "flooring" we had was. |
 |
| Once we moved in we lived with this for two years.. |
 |
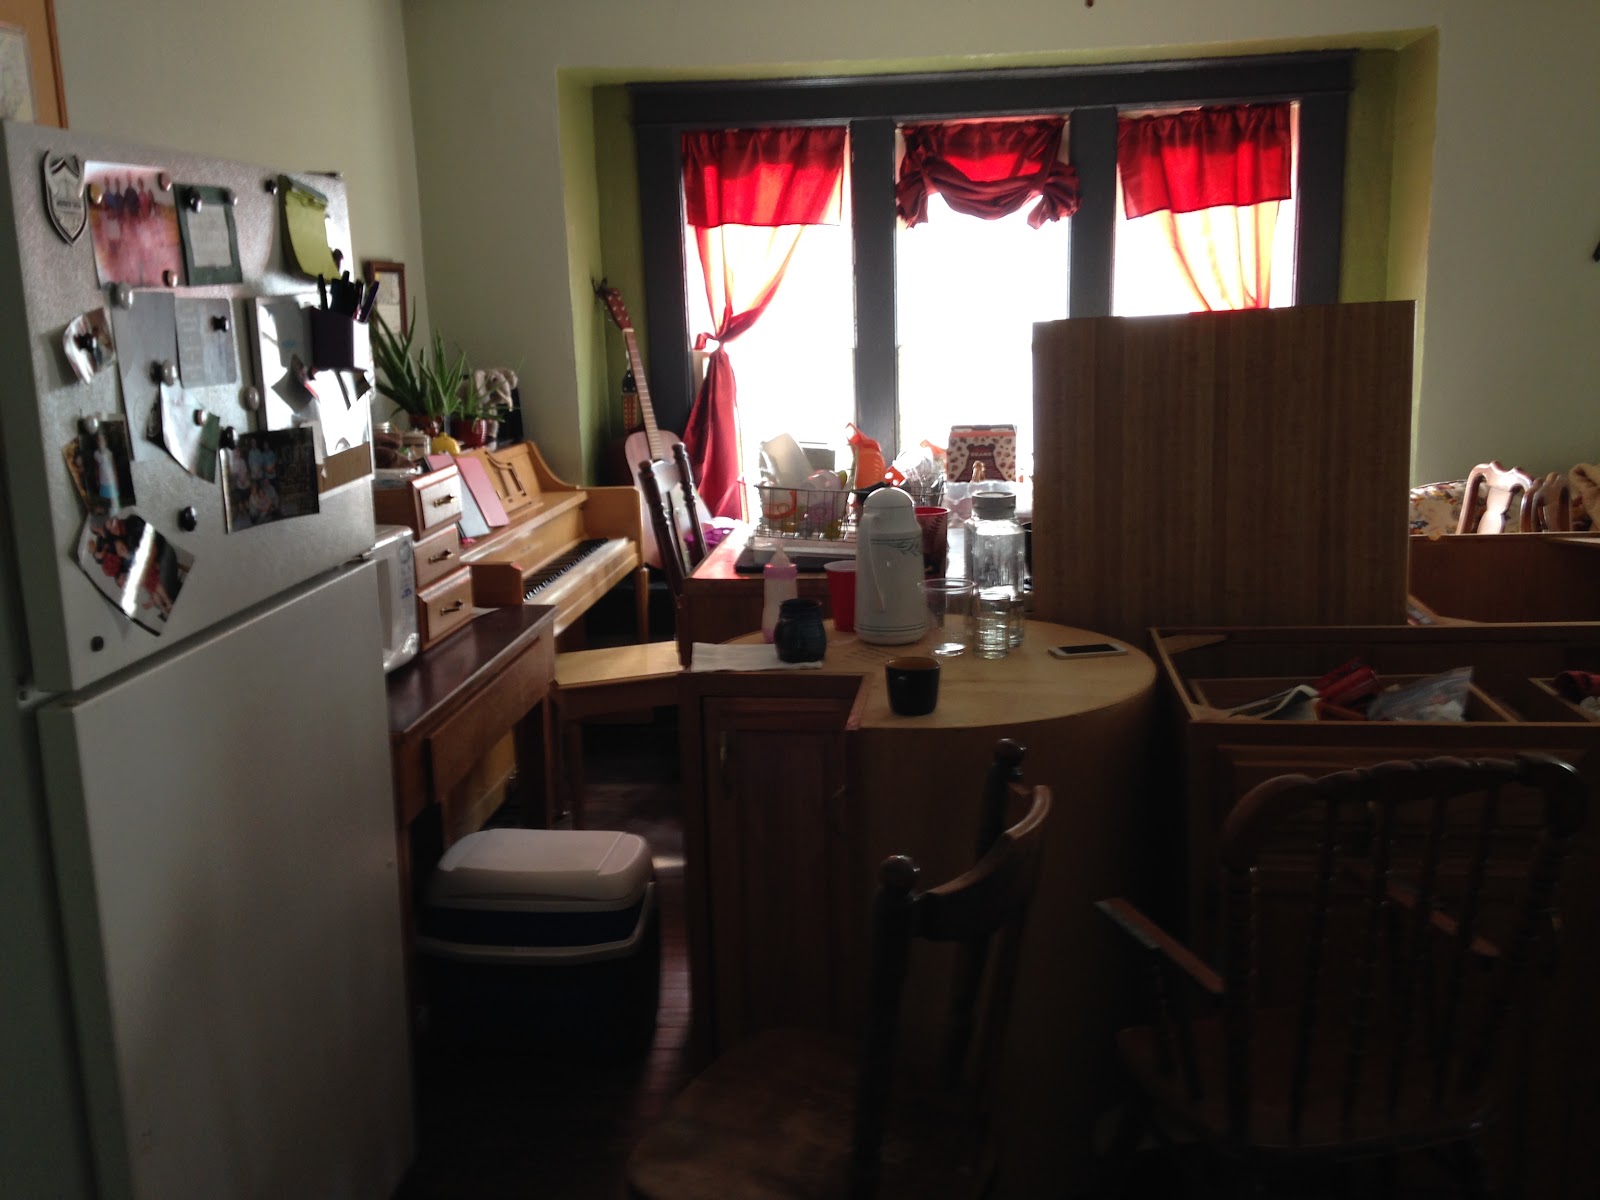
| Everything is out of the kitchen, well, besides Eowyn ;) |
 |
| Jerusha enthusiastically watching Uncle Daniel |
 |
| Mid-process |
 |
| Our dining room mid-process :P |
 |
| Finished product, after the grout was well dried and sealed and that dried and it was finally mopped |
 |
| so shiny and beautiful |
 |
| and another picture because I'm just so in love |
 |
| And this little beauty |
For two years I had been functioning using one outlet which was in the back of an upper cabinet. The previous owners had seriously put up cupboards covering the outlet then proceeded to cut a hole through the back on the top shelf. So for two years I ran an extension chord from the top shelf, down to a power strip on the counter; from there I would plug items in. You may notice that I still have an extension chord plugged in but that is due to the fact the previous owners also hung the top cabinets so low that my coffee pot nor mixer can even come close to sitting on the counter so they are over on the side of the kitchen without top cabinets, also without electricity. Ahhh the joys of old houses in process of being updated...
The next stages will hopefully involve removing the top cabinets and replacing them with open shelving and possibly adding electricity to the far kitchen wall but for now I am happy with what I have.
Oh, you may also notice there is a new stove. My grandma got all new appliances recently and generously gave us her old stove. It was awesome timing as the burners on mine had just started taking 5+ minutes to heat up!
So yay! My lovely kitchen floor.
We went with the cheapest real tile in the color I wanted and paid a total of $700, I believe. $500 on supplies and $200 on labor. I know his work is worth more but he gave me a siblings discount ;) He actually would have done it for free but, his work is greatly appreciated and worth more than the couple of Casey's pizza's we fed him.


Looks great! I can't wait to see what the siblings discount is when we tear out and redo our disgusting bathroom! -AE
ReplyDeleteWow!! Your new flooring looks amazing!!
ReplyDeleteThis comment has been removed by the author.
ReplyDeleteI was surfing net and fortunately came across this site and found very interesting stuff here. Its really fun to read. I enjoyed a lot. Thanks for sharing this wonderful information. https://beautikitchens.com/best-ikea-kitchen-cabinets-reviews/
ReplyDeleteI would like to thank you for the great text. You described it great. Thank you for sharing blog post with us.
ReplyDeletehttps://proforyou.co.uk/kitchens-eastbourne/
Positive site, where did u come up with the information on this posting? I'm pleased I discovered it though, ill be checking back soon to find out what additional posts you include. Italian kitchen cabinets
ReplyDeleteTaj Mahal Quartzite, Thanks for taking the time to discuss this, I feel strongly about it and love learning more on this topic. If possible, as you gain expertise, would you mind updating your blog with extra information? It is extremely helpful for me.
ReplyDeleteThis is such a great resource that you are providing and you give it away for free. I love seeing blog that understand the value of providing a quality resource for free. ES Builder
ReplyDelete