Pages

Thursday, March 23, 2017

Kitchen Renovation: Stage One

This is a promised post, I had been waiting in the hopes we would get the trim bought and put in but since it's already been a month and that hasn't happened.. we'll just consider that another "stage" and at least show you the tile.
My brother Daniel laid the tile over the course of four days. It was inconvenient, living without a kitchen and with tile and grout dust being tracked everywhere, but oh so worth it.


these two pictures are from when we bought the house, just trying to show you how nasty the "flooring" we had was.

Once we moved in we lived with this for two years..

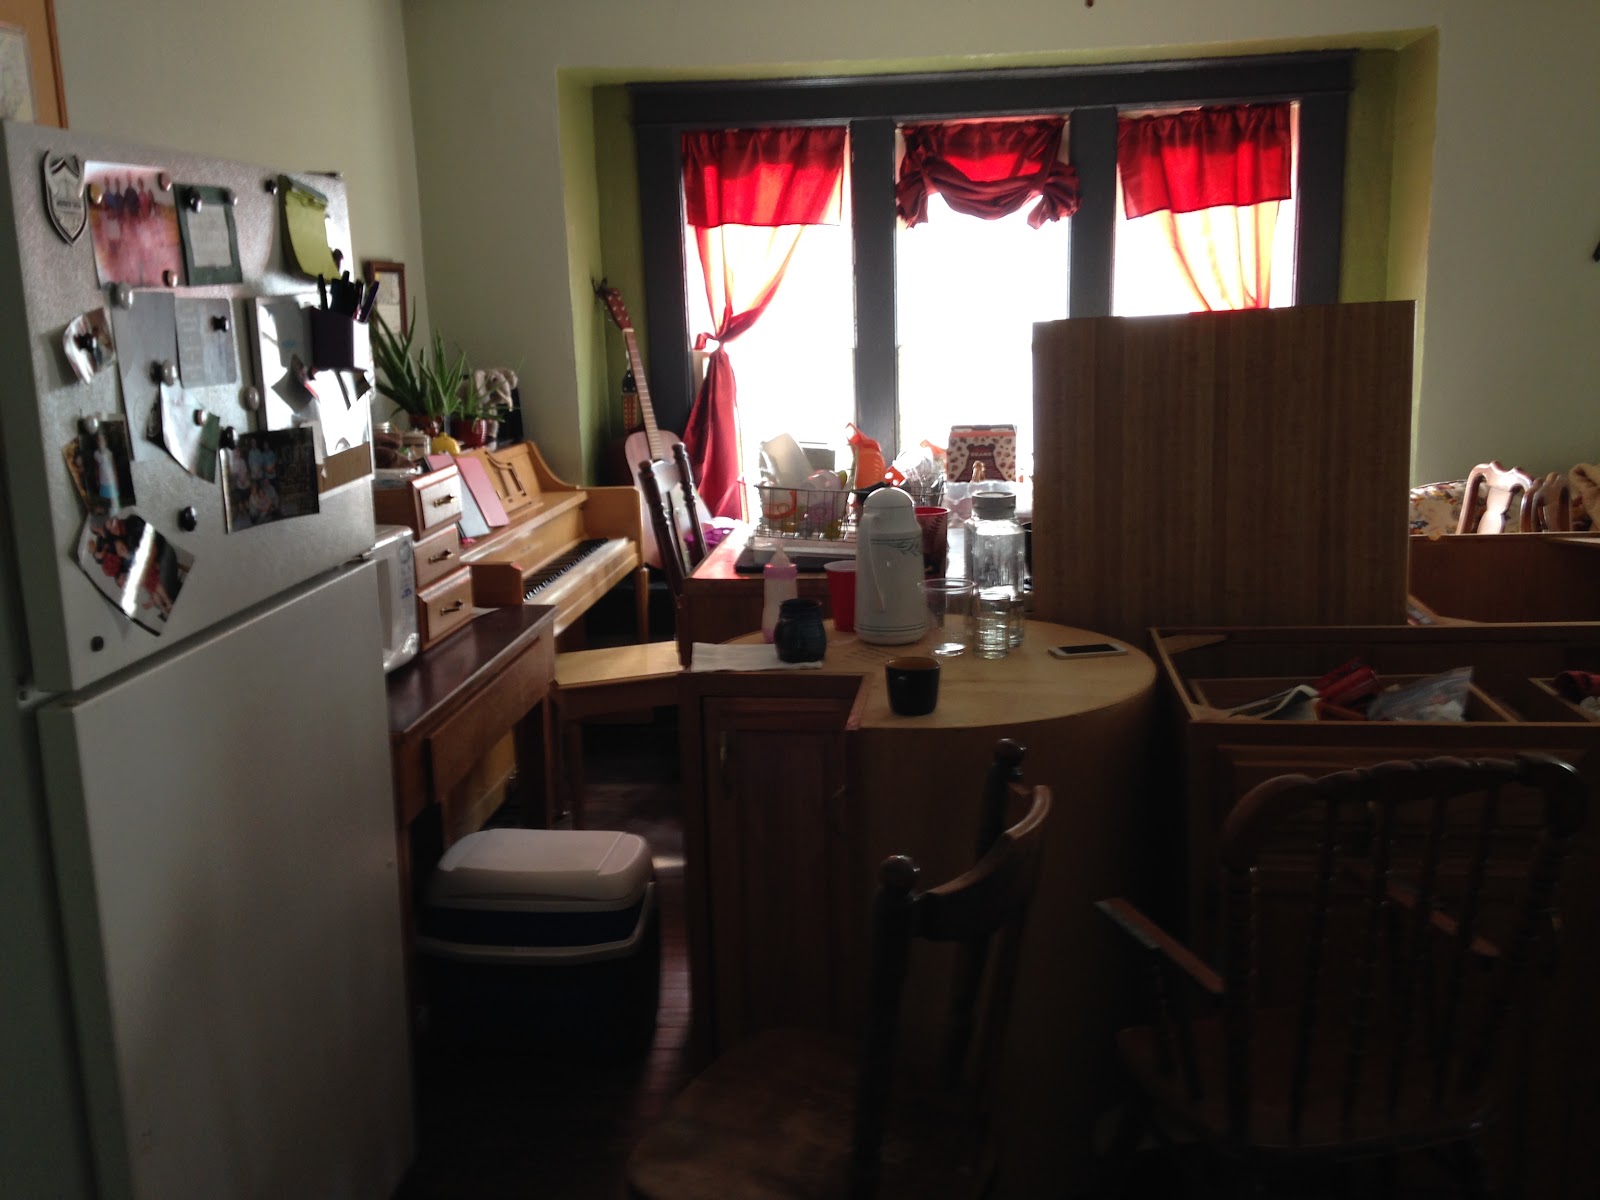
Everything is out of the kitchen, well, besides Eowyn ;)

Jerusha enthusiastically watching Uncle Daniel

Mid-process

Our dining room mid-process :P

Finished product, after the grout was well dried and sealed and that dried and it was finally mopped

so shiny and beautiful

and another picture because I'm just so in love

And this little beauty 
For two years I had been functioning using one outlet which was in the back of an upper cabinet. The previous owners had seriously put up cupboards covering the outlet then proceeded to cut a hole through the back on the top shelf. So for two years I ran an extension chord from the top shelf, down to a power strip on the counter; from there I would plug items in. You may notice that I still have an extension chord plugged in but that is due to the fact the previous owners also hung the top cabinets so low that my coffee pot nor mixer can even come close to sitting on the counter so they are over on the side of the kitchen without top cabinets, also without electricity. Ahhh the joys of old houses in process of being updated...

The next stages will hopefully involve removing the top cabinets and replacing them with open shelving and possibly adding electricity to the far kitchen wall but for now I am happy with what I have.

Oh, you may also notice there is a new stove. My grandma got all new appliances recently and generously gave us her old stove. It was awesome timing as the burners on mine had just started taking 5+ minutes to heat up!

So yay! My lovely kitchen floor.

We went with the cheapest real tile in the color I wanted and paid a total of $700, I believe. $500 on supplies and $200 on labor. I know his work is worth more but he gave me a siblings discount ;) He actually would have done it for free but, his work is greatly appreciated and worth more than the couple of Casey's pizza's we fed him.

Wednesday, March 22, 2017

Alter Your Own Bra

This is a little unconventional of me, and I wasn't sure I'd put it on the blog but, well, I was really excited about this and if you deal with the trouble of not being able to buy a properly fitting nursing bra (or any bra for that matter!) maybe this post can inspire and help you out!
Now that I've lost all my baby weight it has gotten even harder, my band size is a 30-32 and cup size D or E. it's virtually impossible to find so I settle with whatever reasonably fitting and reasonably priced options I can find. Recently I've taken to picking up nursing bras at goodwill for a dollar or two and hoping I'll find a good one. However, last week I spent $6 on a 36E at a consignment sale and when it didn't fit well enough to wear I decided that was too much to spend and broke out my sewing machine to see what I could do. 
Because I wasn't planning on blogging this I didn't take step by step pictures, but, I'll do my best to walk you through the process. 

First I used pins and adjusted where it needed, trying on as I went. When I had it all pinned I cut the front "spacing" piece of material out as closely as I could to the seam. I then sewed it back in by stitching right along the bottom, between the cup and the underwire. 
(This is the part I am least proud of. In my case I had to bring the cups closer together but depending on what size/style you're working with you may not. I couldn't find a way to keep from exposing raw edges.)

Secondly I unpinned the band and cut the seam out (not all bra styles have this seam but both the ones I worked with did). I was careful to leave enough material in order to conceal my own seam.
Sewing it back together make sure the raw edges are on the outside. It could be said to sew the wrong sides together. I used different seam allowances on each side of the seam though, on the side still attached to the clasps I left double the seam allowance as the side attached to the . Next, working on the outside of the bra, you fold the long raw edge over the short one in order to conceal then fold both over and zig zag stitch it in place.
I feel like these instructions are hard to follow but hopefully the picture of my finished seam will help.


 Thirdly I cut the strap off the clasp and shortened it. I chose to shorten the part that was not the adjustable section because I wanted to have full range of adjusting in case I needed it.
(not pictured)

My sewing machine is on the blink so I apologize for my embarrassingly sloppy stitch work. It is honestly a miracle that my machine is still in one piece instead of out a broken window and in pieces on the neighbors lawn. I have lost all patience with the inconsistent hunk of metal. The strap adjustment is not pictured because my machine made a huge mess of knotted thread and it was just too confusing for a picture to be helpful.

My biggest tip is to try  and avoid having any raw edges exposed to the inside, it will rub against your skin and undoubtedly be an annoyance. If you don't have as much room to work with as I did and won't be able to cover your own raw edges, at the very least sew them to the outside and zigszag into place. If you have a bra that fits you well and you already love the feel of, use it as a model for your alterations.
the finished product of the two I did

I was super duper happy with the result; I've heard it said (read it, actually) that a well fitting bra can be life changing so I heartily recommend giving this a try. And if you don't want to ruin one that is working well enough, do what I did; grab one at Goodwill and give it a go.
Also note: I did not change the cup size. I prefer the firm cup styles and it is easy enough for me to find ones that fit they just have the wrong band size, so, I don't think I'll have a tutorial for that at any point.
Has anyone else attempted altering your own bras? Comment and let me know how it went for you, or leave a link to your own tutorials!

~Haley

Tuesday, February 28, 2017

Fruit Snacks

Several weeks ago I attempted to replicate those wonderfully chewy, flavorful, foil pouched fruit snacks. I wouldn't go as far as to say I've mastered it but this is the closest I have come. On Pinterest I found many mommy bloggers who have recipes and upon inspection I think every single one was the same with the only variations being natural organic gelatin vs. run of the mill cheap-o gelatin, and fruit juice vs. a mixture of puree and juice. 
Here were my finds:
No.1 Fruit pectin does not substitute for gelatin. That was an accidental discovery as the first time I tried making these I realized too late that I had bought pectin not gelatin; you're welcome for the insight, we enjoyed some pretty thick blueberry lemon jelly so no real loss ;)

No.2 The generic recipe you are going to find out there is this:
4 Tbsp Gelatin
1 1/2 cups Fruit Juice
3 Tbsp Honey
1/2 tsp Vanilla 
And although its perfectly fine tasting and will please your child (especially if they haven't grown up having the store bought kind;) they are NOT satisfyingly squishy to the momma who has a soft spot in her heart for those scrumptious coveted snacks. These will turn out like tiny cubes (or shapes if you use a mold) of extra hard jello. Yummy and chew-able but not squishy, melt in your mouth chewy.

No.3 Fruit puree is the way to go for a more squishy satisfying treat; still not perfect but the closest I got.

No.4 You can use much less gelatin, also making them more squishy and still plenty set up. 

No.5 If your child is anything like mine it might make you crazy how many she wants to eat in a day, so to save your sanity you might forgo making these, purchase a fridge she can't open, or try leaving them in a cupboard at the risk of spoiling.


I'm using Apple Juice, Honey, a partially eaten apple, which I pureed, Knox gelatin, and YL Thieves Oil

My serious helper
My adorable "cheese"er


After sprinkling the gelatin on the fruit/juice you wait for it to absorb before heating


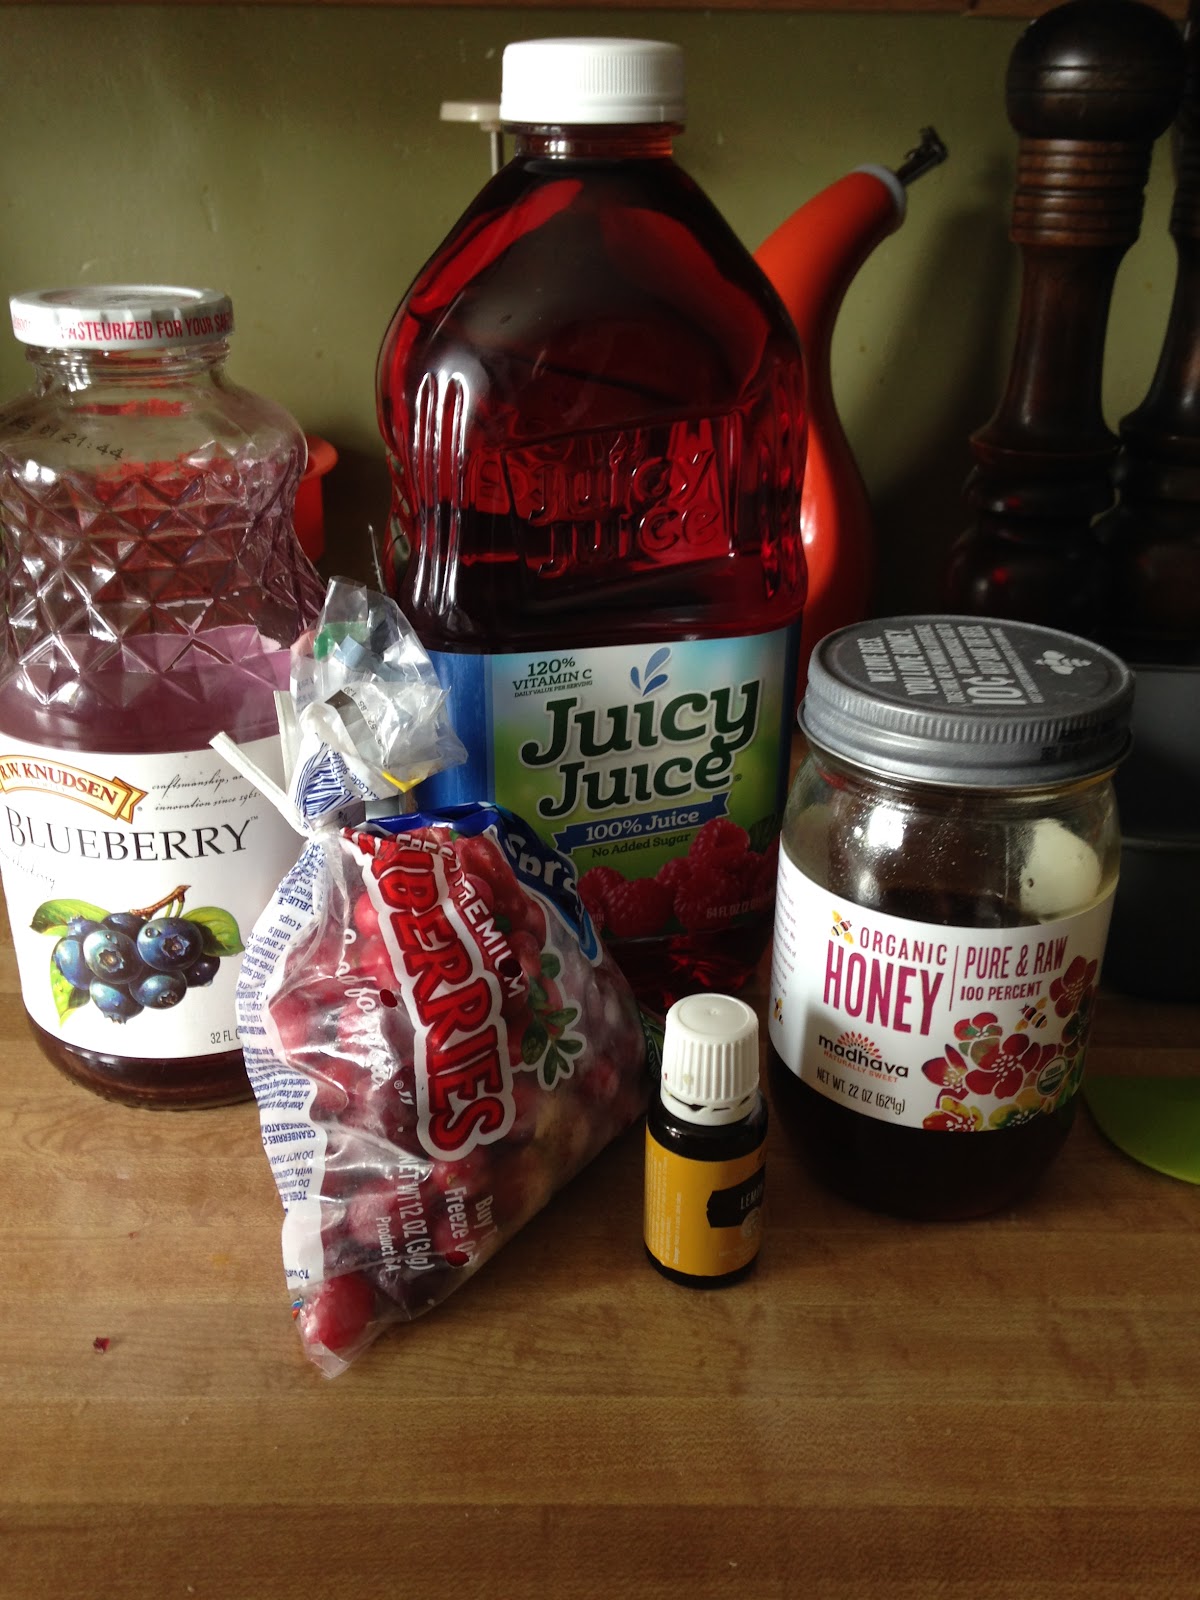
Second flavor: Berry Juice, Blueberry Juice, Cranberries - pureed, Honey, YL Lemon Oil


Flips out super cleanly with out greasing or lining the pan
and cuts easily, as well


I ordered these cups from Amazon with the hopes of portion control. They were $12 for 100 with attached lids and were supposed to be reusable. They are but it's probably just as well to order the super cheep ones with un attached lids and just throw them away at leisure. The lids are coming unattached after one or two uses anyways. Not worth the extra money.


My Variations of Fruit Snacks

2 cups Fruit Juice
  Batch 1-Apple Juice
  Batch 2-Berry Juice
1/2 cup Pureed Fruit
  Batch 1-Apple
  Batch 2-Cranberries
3 Tblp Gelatin Powder
2+ Tbsp Honey
3+ Drops Essential Oil

Mix juice and pureed fruit in a saucepan. Sprinkle gelatin powder over it and allow to sit a few minutes to absorb. Turn on heat and add honey. Allow to heat until all the gelatin has dissolved, you will notice it losing its grainy texture. Depending on how hot it took to dissolve the gelatin allow to cool before adding Essential Oils. Pour into a loaf pan and refrigerate 3 hours. Flip out and cut to desired sizes.
These keep in the fridge as long as your children allow them to be kept. If storing at room temperature I've seen it recommended to keep no longer than two weeks.

Enjoy! Or better yet; try your own variations and let me know what changes to make for next time!!


Thursday, February 16, 2017

joy as a child

This is an unscheduled, perhaps uninteresting post but it hit me today and it is going on the blog. 


We were at the table, eating our egg sandwich lunch, when the train whistle sounded. The local train cuts its path between corn and soybean fields just across the street from our home. When Jerusha heard it coming she jumped down from her high chair and ran to the bedroom window. Éowyn, already on the floor followed her and together they watched the train. Apricot jelly on her cheek, excitement in her sparkly eye, Jerusha helped her little sister try and see the train. 
It's raw innocent beauty. 
The imagination of a child at this age is unadulterated by the cares and evils of this world; it truly is amazing to stop and watch your babies, see where they find joy and interest, maybe there are a few things we can learn by looking at the world through the eyes of a toddler. 

"And Jesus called a little child unto Him, and set him in the midst of them, and said, Verily I say unto you, except he be converted, and become as little children, he shall not enter into the kingdom of heaven. Whosoever therefore shall humble himself as this child, the same is greatest in the kingdom of heaven."

This same beautiful child is now attempting to put Mommy's make-up on. Look through their eyes, but still be the decerning mother and parent ;)
Glimpses from my beautiful little bubble,
   Haley

Wednesday, February 15, 2017

Productive Days

This week my Wesley is out of town again for work after having been home for three weeks. It had been nice having him back in the evenings but it has been my expirence that great highs dip into very deep lows when husbands have to be out of town when you've just gotten used to having them around again.  So, I prepared myself and made a few goals for this week; first and foremost I was not going to get down on myself if I spent a few days just 'getting by'. If I managed to keep up with diaper changings, feeding kiddos and personal hygiene but had no stamina left over for "extras" it was going to be okay. The laundry and dishes would be there and weren't going to be worth keeping up with if it meant losing my sanity. So I was prepared and so far, so good. In fact, I think my pre meditated attitude has lead me to be more productive than I thought I would be.

First thing Monday I spent an hour on the phone sorting out banking details, which, in all honesty would have been enough "adulting" for an entire week for me, a phone avoiding person. I also did a little sewing project after I'd been keeping up with my listed necessities.
Tuesday I spent a lot of time at in-lws before finally coming home where I productively washed dishes while visiting a close friend and then managed to do quite a bit of laundry. Kids still staying in fresh diapers and clothes ;)
Today my youngest two sisters are here to entertain my babies while I have washed dishes, baked breakfast muffins for the freezer, and cookies for snacks, started and folded 3 loads of laundry. I still have some things on my to-do list so is better get back at it!

Also, I have a post coming that I am super excited about.. before and after, kitchen floor renovations!! There's a tiny sneak peak in a picture below!
Another post I hope to get up is about some fun kiddo incorparative exercises that are helping me get back in some sort of shape, now that I'm finally back to post-first-pregnancy weight!
Cranberry Muffins
& Carrot Muffin/cookies (I ran out of muffin tins and decided the batter was thick enough to bake as cookies. 

Ooey Gooey chocolate chip cookies, some for now and some to pop in the oven as desired. So likely very soon. ;P

It may not seem like a lot but my day has felt productive to me, and that is what matters. My hands may not have time to find much to do but I am content knowing I have done it to the best of my ability, with all my might. 
Enjoy your bubbles and the tasks set before you! 
~Haley

Tuesday, January 31, 2017

A Year in Rear View

2016 - It was another "Best Year of My Life".
Jerusha turned ONE in March and we hosted a simple party with just our  immediate families.
Eowyn Harper joined us on this side of the womb May 31st. I was only a week over due with her but sooo wanted a May baby and couldn't have been more thrilled to wake up super early May 31st with contractions that would turn into labor. She was a beautiful 8 pound 12 ounce baby who has grown into a too grown up-eight-month-old who is currently hovering all over the living room expertly steering her walker; oh do I always miss the infant stage, but that doesn't mean I'm not soaking up every joy to be found in this stage.
Wesley took a promotion in May which has changed our life quite a bit. He is a Regional Trainer now and some weeks that keeps him out on the road Monday through Friday but some weeks (like this one!!) he is close enough to the store he's training in to commute. Because he's not always home though, I've had to learn to be a little bit more self sufficient which is an area I needed stretched in. It is wonderful to have family so close for the days I need a break from being alone with two littles.
This year the transmission went out on our Lexus after only a year of owning it which was a bit of a trial but, after a few months relying only on Wesley's company car, we were able to buy a Ford Expedition which I love.
We enjoyed several trips in 2016; in March we joined my family on their vacation to Fort Morgan, in July, again with my family, we spent a weekend in Michigan visiting my grandparents. Mid August we took our annual trip to the Holden Beach/family reunion. Then on Labor Day Wesley and I took a group of siblings to the St. Louis City Museum which is nothing short of amazing. The last trip we've taken was a weekend adventure to Cincinnati, dreaming at IKEA, overwhelmed at Jungle Jim's, and experiencing the ARK encounter. We love being able to make time to travel, it creates so many memories, is worth the time, energy and money, and it CAN be done with youngsters.
Holiday's came and went, I was HUGE at 1 week "overdue" and hoping for labor on Memorial Day but still managed to enjoy fellowshipping with family and friends. Fourth of July we celebrated on the 2nd in order to partake in our small towns AMAZING firework show. Labor Day was spent in St. Louis, as I mentioned before. We spend Thanksgiving  with my side of the family, preparing food days in advance and feasting for days afterwards. And Wesley and I hosted Christmas for his side of the family, it was the first time we hosted a holiday gathering in our little home and I think it went pretty well. New Years Eve we joined my family, waiting up until midnight to "ring in" the New Year.
2016 was a good year for our family, filled with blessings and reasons to continually praise  God from whom all blessings flow. I pray 2017 wiill be another year filled with His provision, guidance, and growth for our lives as well as yours.
~Haley
Happy New Year (very late because I'm a busy mom or lazy blogger... ;)

Wednesday, January 25, 2017

REVIEW: Kiinde Foodii Starter Kit

The Kiinde Foodii Starter Kit

My little Wyn is getting to the age that she wants to try everything that mommy is eating but unfortunately she is struggling with being able to chew and swallow. I never had this issue with my oldest who from six months (maybe younger?) inhaled food whole, never choked on anything, and hasn't stopped since.  This being a new stage for me, I talked to my sister-in-law's about their experiences. One had success using reusable baby food pouches so I looked into them. I had a few boxes I had to check before ordering:
  • reusable
  • screw tops NOT "ziploc" (Jerusha is capable of opening zip tops)
  • clear, or mostly clear pouches so I could be sure I got them cleaned (there are very few areas that cleanliness and paranoia intersect for me but kids and mildew is one, ask me about tommee tippee sippy cups sometime..)
  • reasonable price
Technically the Foodii Snack System didn't check the "reusable" box but after reading a few amazon reviewers who said they wash and refill the pouch a few times I decided to proceed. 

They were one of the few options that had a screw top so again I continued.

I loved the fact the pouches are totally clear on one side with minimal solid white on the other, another box checked.

When I originally found this system on Amazon it was listed at $49.00 which would have been a definite no for me, however, the Amazon Prime price was only $14.99 and although I don't have Prime my mom does and is always willing to let me order through her account.

I just rechecked the price for you guys and it's actually being sold on the Kiinde site as a special right now for $19.99 and over at Amazon for $18.58 with Prime and $38.99 without Prime.

What I like:

I have reused some of the pouches up to three times already! I simply rinse what is left out, squeeze a dot of soap in, shake and then inserting a finger into the top I run it along all the seams just to be sure there's nothing left and then I rinse again. Easy!

The Foodii Filler. When I originally ordered I thought that it would be kind of unnecessary but it has proved useful. The baby food actually has to be quite thick in order to prevent my girls from slinging it all over the house and dripping it everywhere so the Foodii Filler comes in great handy. It is a squeezable container and as you squeeze the contents into the pouch there is a small vent on the cap to prevent too much vacuum. Eventually it does begin to create a vacuum but, really, its no big deal.

Minimal parts = minimal mess. Many of the systems I looked into come with "easy filling" squeeze stations similar to this and although they may work great for some people, I wasn't interested; I quite honestly don't enjoy doing dishes that much. I'm a minimalist. I'll stir batter with the Tablespoon measure I used if it means not washing another spoon.. As I mentioned before, I thought the fact the Foodii system came with a special filling device a little over the top but, since it is extremely easy to wash and is easier than spooning or funneling baby food into the pouches which also would create dishes it was a win. 
Several other systems also come with special blenders or miniature food processors to make the baby food in but, again, more dishes. I already own a blender which works great and serves well for my own smoothies, baby foods, as well as chopping every thing else. Minimal parts therefore minimal messes.

I have yet to try this feature out but all the reviewers I read loved this and in fact, I believe, the Kiinde brand originated to create easy breast pumping/milk storage/bottle feeding options. They sell converter top sizes that screw into the pouches, allowing you to use nearly any breast pump and pump directly into these pouches. You can then purchase their bottle converter, turning it into a bottle and feed your baby; you could also use the converters to choose your own nipple size/style. This all seems nifty to me, so far with my two I have not had the need to pump and bottle feed but if I ever do this looks like a good option, maybe some day I'll have a review for you on it!

What I'm Not Crazy About:

The spoon attachment. These make no sense to me. Until they make a spoon that squeezes the food out onto the tip of the spoon they're just a mess. In my girls cases they attempt to eat the food off the spoon but end up pushing it up the handle since its all in a pile on the far side of said spoon.

The Snack Spouts. They certainly aren't terrible, I just wish Kiinde could have used a design more similar to the store bought pouches; one where the spout is longer and skinnier, allowing a child to keep it further in their mouth, minimizing extra squeezing out accidentally. It's really not that big of an issue though and my almost two year old seems fairly capable but my nearly eight month old can't keep it in  her mouth. I may be expecting too much out of her though, and even if she could keep it in her own mouth I'd have to supervise the squeezing so it isn't that big of an issue. Just something I think could be improved.

The first food I made was from this (our favorite) yogurt, an apple, and sweet potato

I baked the sweet potato and allowed it to cool and steamed an apple then peeled and cored it

blended that all up with yogurt until it seemed to be a baby foodish texture and consistancy

put it into the Foodii Filler (picture feat. Jerusha's helpful hand)

once I had squeezed as much as I could directly into the pouches I unscrewed the cap from the Filler and used it as a funnel in order to use every last bit of the baby food

filled pouches, as you can see they are clear, making washing easier

Another flavor I  made was Bananas, Cocoa Powder, Peanut Butter and the same Yogurt blended. It ended up quite runny so Jerusha gets to eat those more often than Wyn.
Most recently I used organic Blueberry Juice, Yogurt, homemade Blueberry YL Lemon Oil Jelly, and Chia Seeds. All those ingredients have great health benefits and both the girls and I have enjoyed them; to be honest, all three of us have enjoyed each flavor, which is one of the main reasons I sought out DIY squeezy pouch options; I want to know what is in the food I feed my girls and I want to know it tastes yummy.

I hope you enjoy this review and maybe it will be helpful to you if you ever find yourself looking for reusable squeeze pouches.

Have a blessed day enjoying YOUR very own Beautiful Bubble
~Haley